block the path
Block the Path strategy: when to place a wall or move
Improve your Block the Path decisions by counting routes, comparing detours and saving walls. A practical beginner strategy guide with a real board screenshot.
A useful wall should delay your opponent enough to justify spending your turn and a limited wall. Compare the shortest open routes for both pawns, consider jumps, and avoid creating a detour that hurts you just as much.
Count routes before building
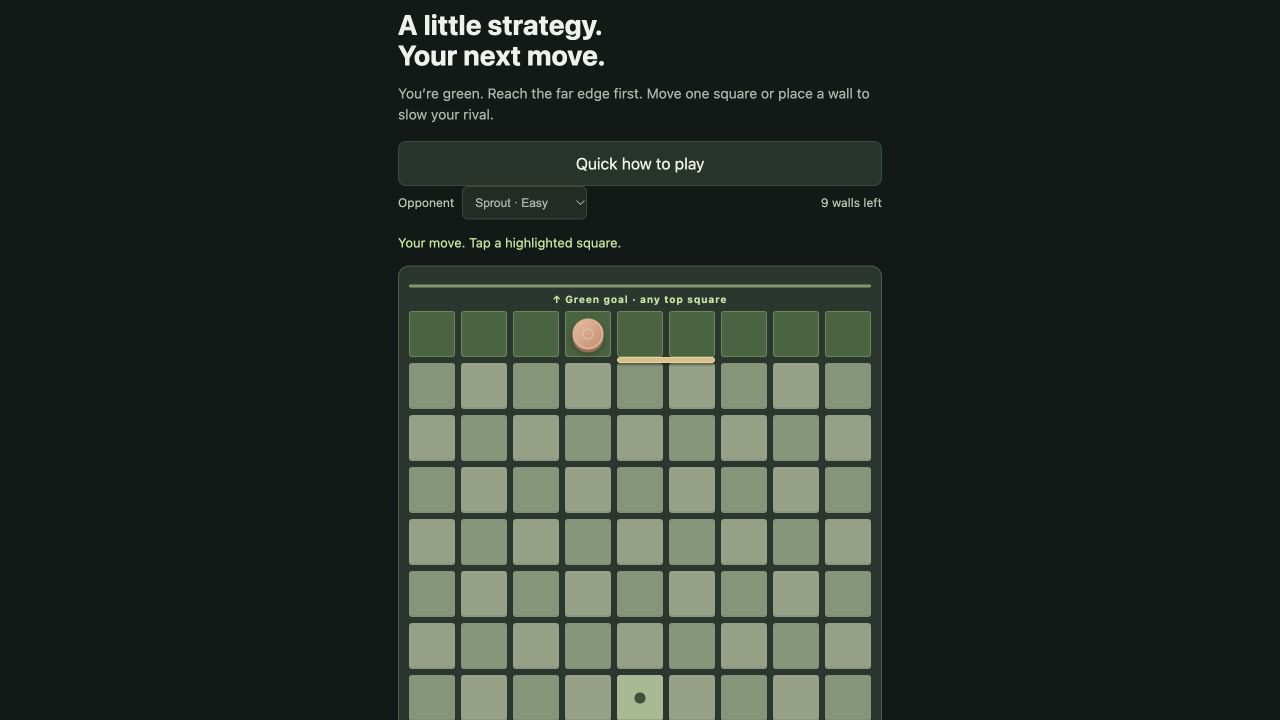
Start with a simple question: how many moves would each pawn need if no more walls were placed? Trace the open route to the opposite edge. Do not count squares in a straight line through a wall. Then look for a possible jump, because a pawn encounter can shorten the trip.
This count is a starting point, not a guaranteed result. Your opponent still has walls and can change the route. Recount after every meaningful placement rather than following a plan that no longer fits the board.
Pay for a wall with a turn
Placing a wall means you did not advance your pawn. Suppose a candidate wall adds two moves to your rival’s route and none to yours. That is worth examining: you spend one action to create a larger delay. If it adds one move to both routes, it is often a poor trade because you have also used a turn and a wall.
These are rough comparisons, not a universal formula. A wall can create a future bottleneck, prevent a jump or force a commitment to one side. Ask what your opponent’s best reply would be before deciding.
Check your own exit
Walls block both colours. A wall just ahead of coral might also lie on green’s eventual route to the top. Look beyond the next square: trace your full route and make sure the new detour does not send you around a long corridor.
Never plan to seal the opponent in. Block the Path requires a remaining path for both pawns, and the rules reject a wall that closes the final path. Read the legal wall rules if a placement is rejected.
Keep a wall for the finish
Spending all ten walls early leaves only pawn moves for the rest of the game. That may be fine with a decisive lead, but it removes your ability to respond to a late threat. Before using another wall, check whether advancing creates the same pressure.
Near the finish, examine immediate wins first. If you can reach the goal this turn, do it. If your rival can finish next turn, a defensive wall may matter more than a distant route improvement.
A five-minute practice drill
- Start a practice game against Builder.
- Before each wall, name the extra detour you expect it to create.
- After your rival replies, trace both routes again.
- If the wall did not help, identify the escape you missed.
Do this slowly before trying a fast clock. The aim is to learn which walls change a race, not to place as many as possible. For a gentler opponent, see the bot difficulty guide.